
序
自从博客搭建(2017.8)至今,一直用着hexo的next主题,也从未想过做任何美化的工作。某次在搜索资料时,看到某位网友的个人博客,一时间惊为天人。卧槽,这也太好看了吧!我的博客简直就是个草窝啊我去。随后我就开始了我的博客美化工作。
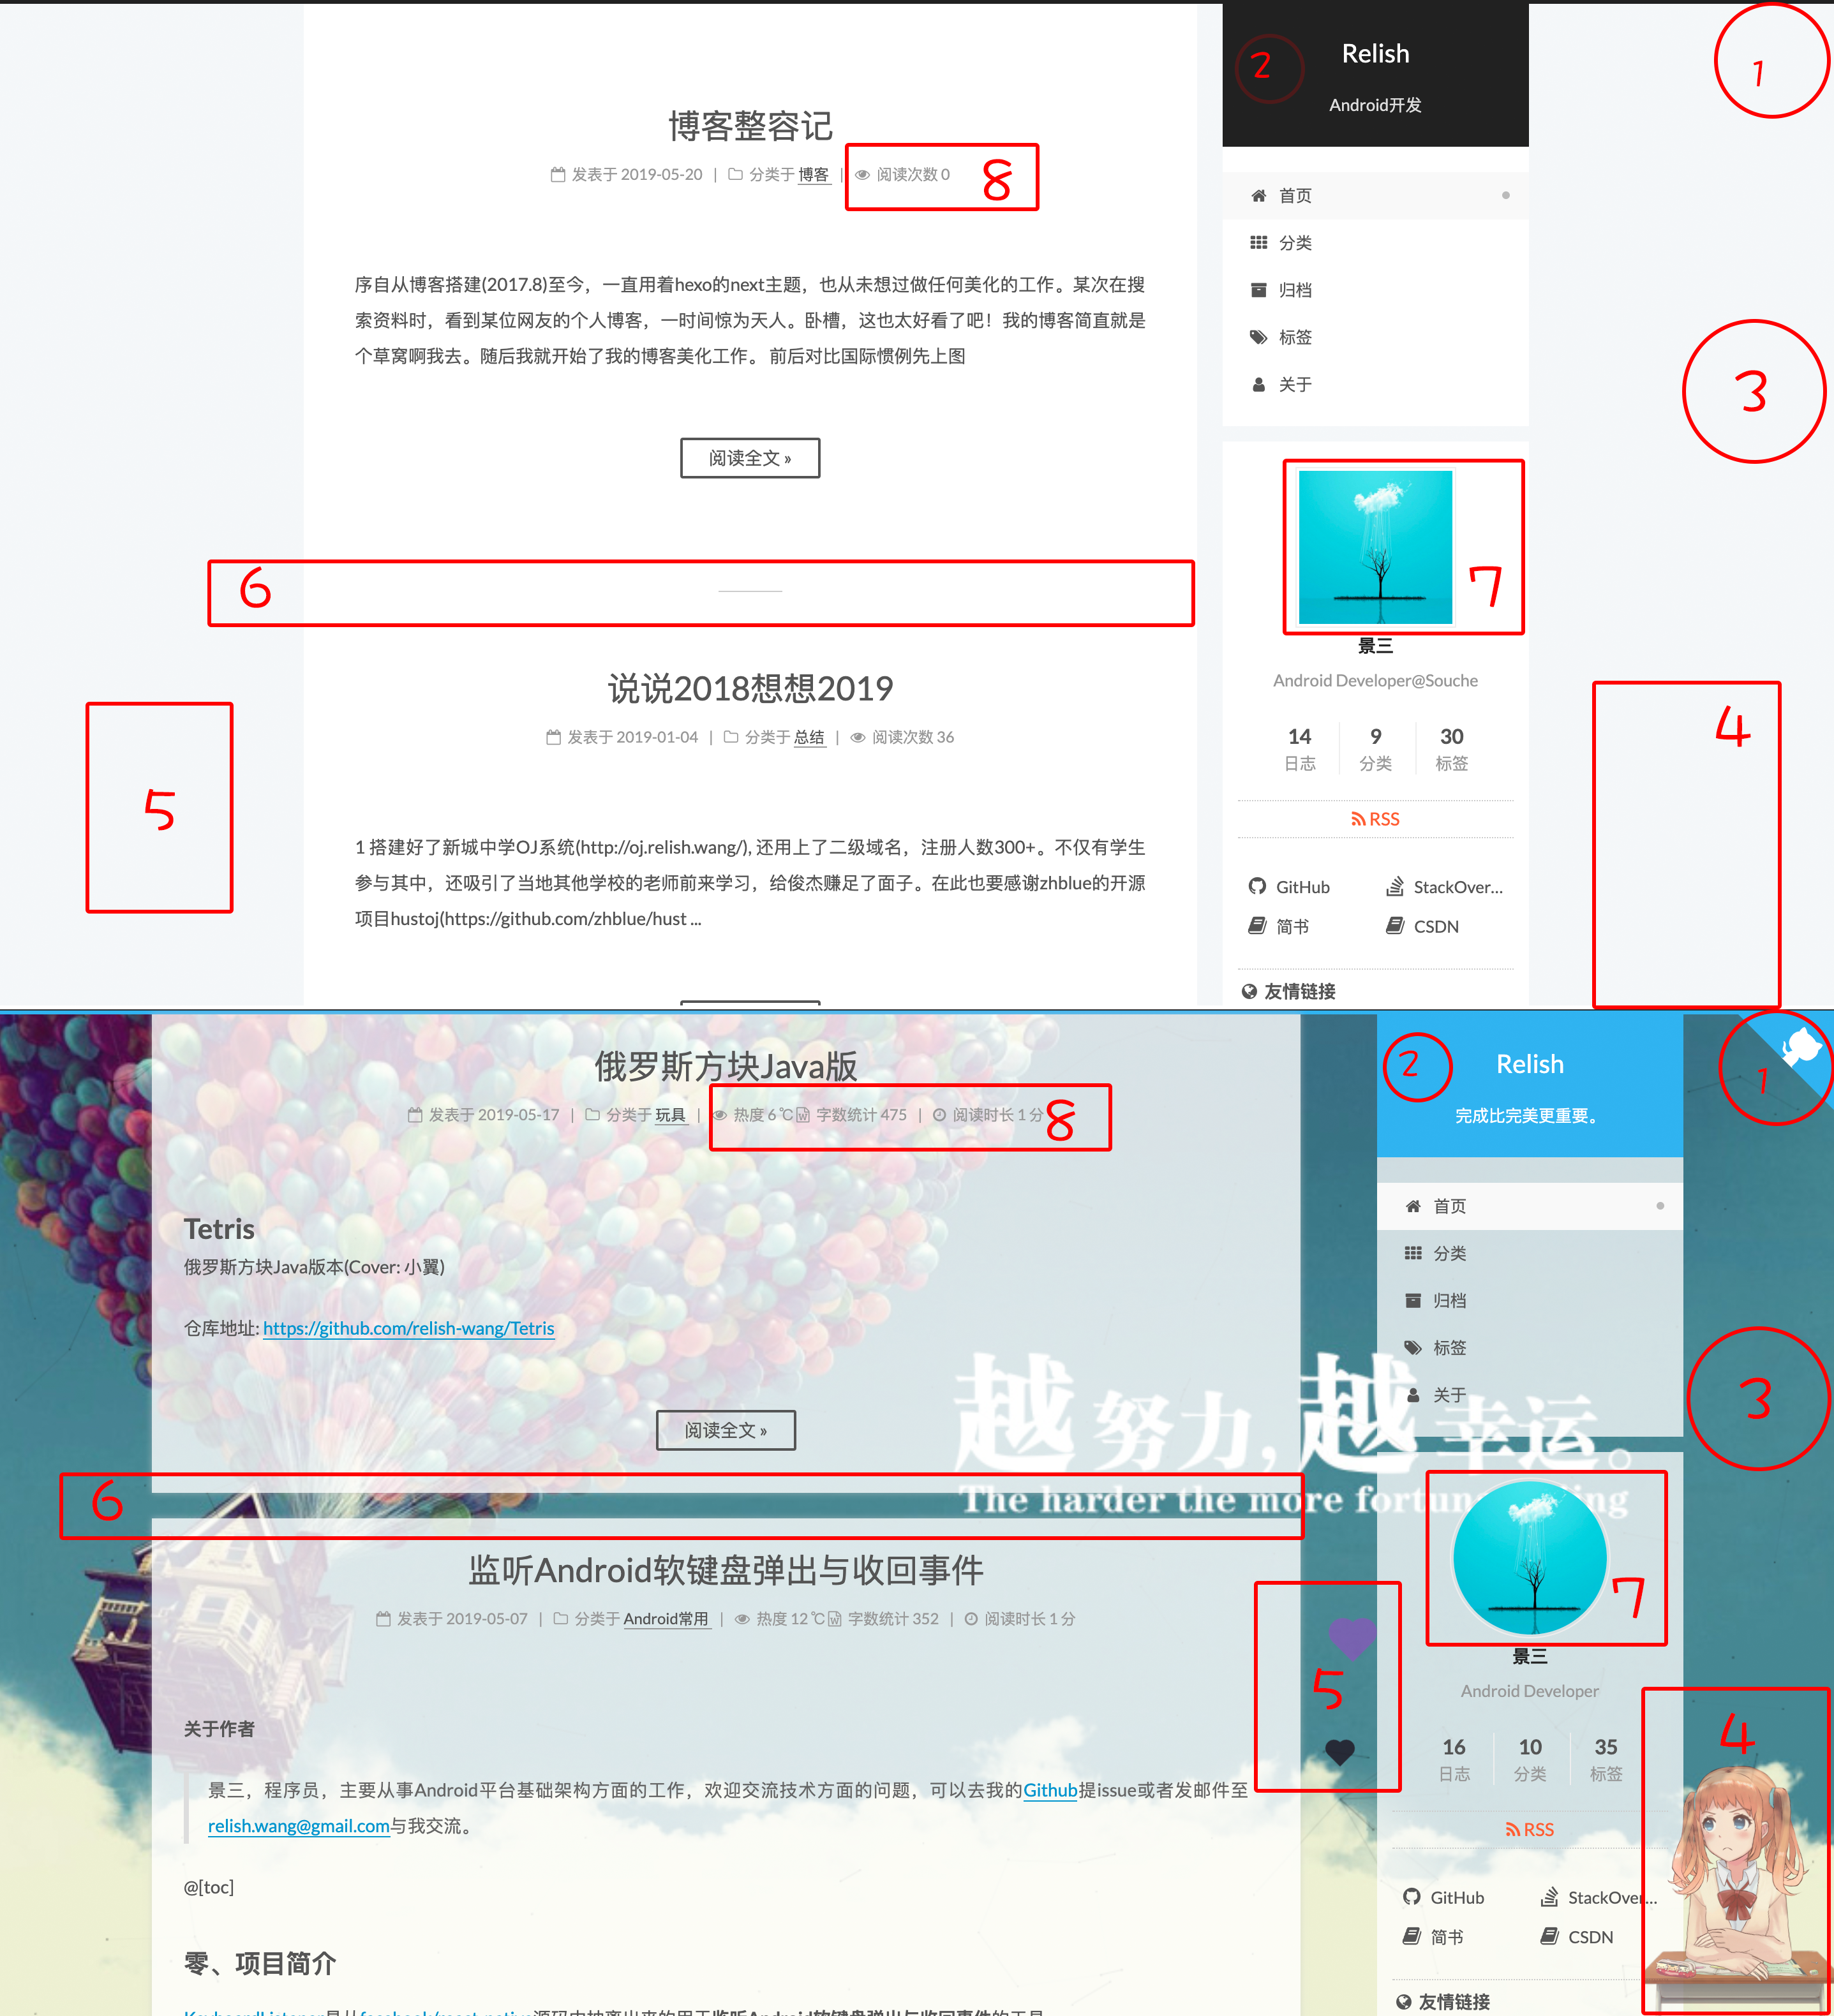
前后对比
国际惯例先上图:
*博客美化前: *查看动图
*博客美化后: *查看动图
- 1 github跳转徽标
- 2 主题色由黑色变成蓝色(#49b1f5)
- 3 设置自己喜欢的背景图片,并设置透明背景
- 4 可以与鼠标互动的萌萌哒的妹子(live2d)
- 5 鼠标点击空白区域出现爱心(向上飘然后隐退)
- 6 修改文章列表分割线(丑丑的横线->透明间距), 也修改了文章的宽度(原先的空白区域太多,不美观)
- 7 使用圆形头像(鼠标放上去还有旋转动画哟)
- 8 文章阅读次数改为热度,添加字数统计,阅读时长
教程时间
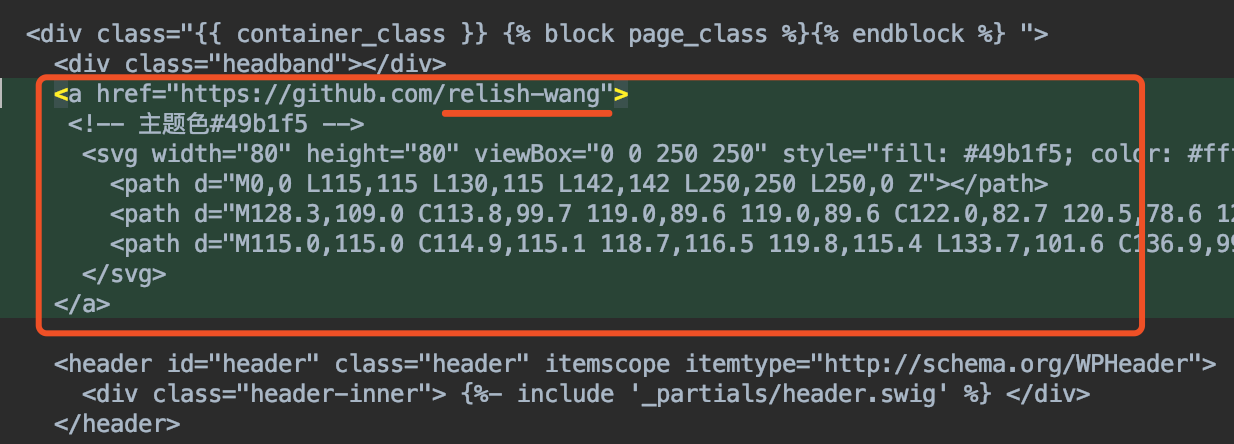
1 设置github跳转徽标
修改文件位置:/themes/next/layout/_layout.swig
在<div class="headband"></div>下方添加如下代码:
1 | <!-- 记得改成你的github地址 --> |
2 主题色由黑色变成蓝色
修改主题色需要修改有多处地方
1 github徽标颜色,见前文
2 修改网站头部颜色
在文件
themes/next/source/css/_custom/custom.styl中添加:1
2
3
4
5
6
7
8
9
10// 修改网站头部颜色
.headband {
height: 3px;
background: #ff0000; // 主题色: 主页最上面的加载条颜色
}
.site-meta {
padding: 20px 0;
color: #fff;
background: #00ff00; // 主题色: 主页title/subtitle上面的背景色
}3 如果你还想把按钮的hover颜色的也改成主题色的话:
在
/themes/next/source/css/_variables/custom.styl添加:1
$btn-default-hover-bg = #49b1f5 // 主题色
3 设置自己喜欢的背景图片,并设置半透明背景
1 设置背景图片
在/themes/next/source/css/_custom/custom.styl中添加:
1 | body { |
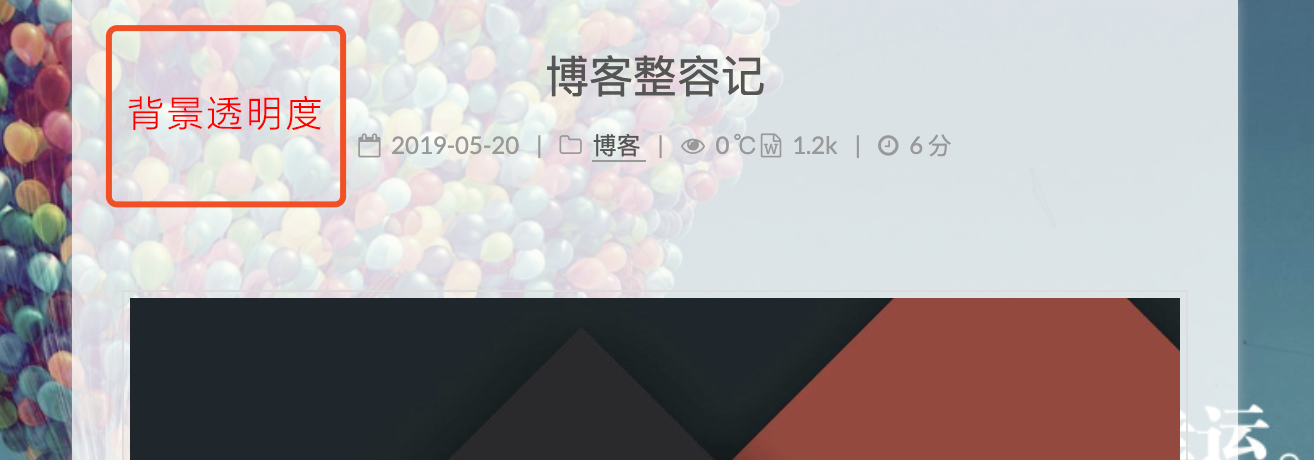
2 设置透明度
2.1 修改主页文章列表的背景色
在themes/next/source/css/_custom/custom.styl中添加:
1 | .post { |
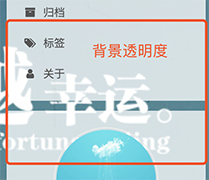
2.2 修改侧边栏透明度
- 2.2.1修改
themes/next/source/css/_schemes/Pisces/_layout.styl的以下节点下的background属性.header-inner节点: 由white改为rgba(255,255,255,0.75);(0.75表示透明度。0-全透明;1-不透明).content-wrap节点:由white改为rgba(255,255,255,0);.sidebar节点: 由white改为rgba(255,255,255,0);
- 2.2.2 在同一个文件夹下
_sidebar.styl的..sidebar-inner节点下的background属性由white;改成rgba(255,255,255,0.75);
2.3 修改页面底部页数布局透明度 
在/themes/next/source/css/_common/components/pagination.styl中修改:
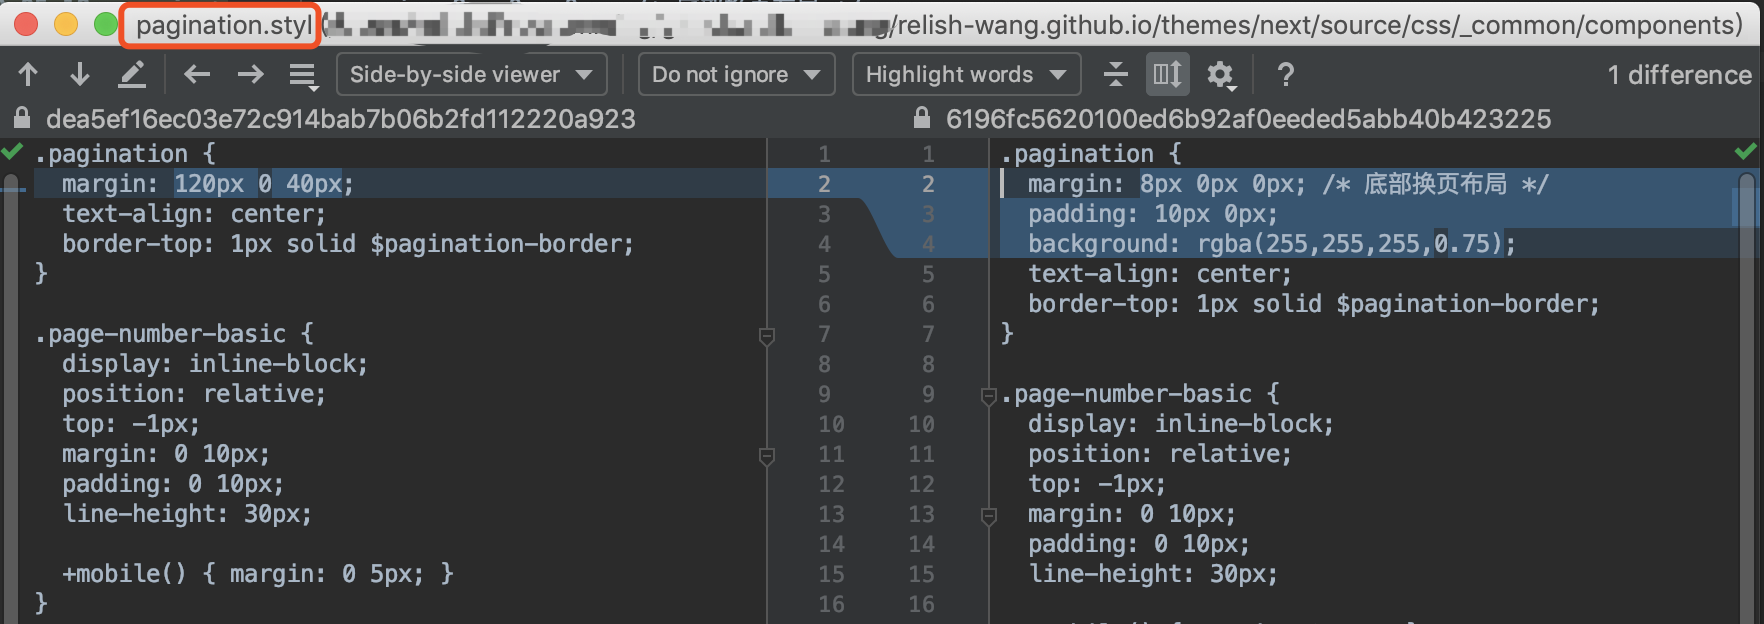
1 | .pagination { |
2.4 修改按钮的透明度
在themes/next/source/css/_common/components/post/post-button.styl中的.post节点的.btn的background属性修改为transparent;(当然如果你觉得白色按钮也挺美观的,也可以不改。)
4 可以与鼠标互动的萌萌哒的妹子(live2d)
请参看开源项目hexo-helper-live2d
4.1 在项目根目录下运行
1 | npm install --save hexo-helper-live2d |
4.2 在根目录的_config.yml中添加以下配置
1 | live2d: |
4.3 安装你选择的模型的package
1 | npm install live2d-widget-model-shizuku |
4.4 跑起来你就能看到了
1 | hexo clean && hexo g && hexo s |

5 鼠标点击空白区域出现爱心(向上飘然后隐退)
5.1 保存love.js文件
将love.js文件保存到/themes/next/source/js/src/目录下, 文件名就取为love.js
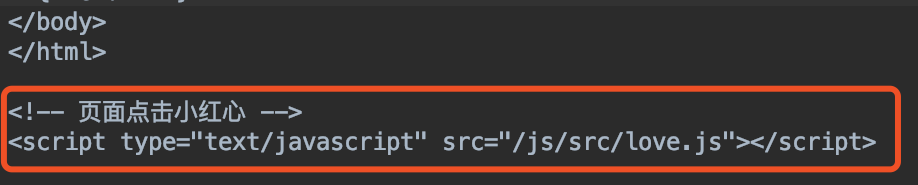
5.2 引用love.js文件
在/themes/next/layout\_layout.swig文件末尾添加js文件引用:
1 | <!-- 页面点击小红心 --> |
6 修改文章列表分割线
在themes/next/source/css/_custom/custom.styl中添加以下代码:
1 | // 主页文章添加阴影效果 |
7 使用圆形头像+旋转动画
在themes/next/source/css/_common/components/sidebar/sidebar-author.styl末尾添加:
1 | .site-author-image { |
![]()
8 文章阅读次数改为热度,添加字数统计,阅读时长
要不是这次想着要给博客整容,我甚至都不知道我早年使用的不蒜子早就换了域名了。之前就已经添加了不蒜子计数,我这次只能算修复, 就不赘述添加过程了。
如何修复:
将/theme/next/layout/_third-party/analytics/busuanzi-counter.swig中不蒜子的域名dn-lbstatics.qbox.me修改为busuanzi.ibruce.info;
其他未被我采用的美化方案
1 动态背景线条
1 添加功能
在themes/next/layout/_layout.swig中的</body>标签前添加以下代码:
1 | {% if theme.canvas_nest %} |

2 启用功能
将/themes/next/_config.yml中的canvas_nest属性改为true(如果之后不想用改成false就行了):

3 效果图

致谢
开源项目: EYHN/hexo-helper-live2d

